
[Day17] JDBC & JAVA
JDBC는 Java Data Base Connecter의 약자로 Java Application과 DataBase를 연결할때의 표준을 알려준다.
- 백엔드 개발자는 JDBC API를 이용하여 Query에 요청을 하는 등의 작업을 수행한다.
JDBC Type 4가지 중 MySQL에서 제공하는 JDBC Type 4를 공부할 예정이다.
- JDBC Operation FLOW
- 우선 DB로 부터 Connection을 받아온다.
- Connection으로 부터 Statement를 만든다.
- Statement를 이용해 실행시킨다.
- 문제가 있다면 문제를 해결하고 Statement를 통해 쿼리를 실행하여 ResultSet을 받아오거나 update를 실행한다.
- Statement, Connection, ResultSet을 종료해준다.
마지막 과정인 Statement, Connection, ResultSet을 종료하는 부분이 가장 중요하다.
JDBC 준비하기
우선 JDBC를 준비하는 과정에서 굉장히 많은 삽질을 했다. 결론은 처음 MySQL Installer자체를 잘못 설치했기 때문이었다. 나는 window 환경에서 설치를 하였고 이 블로그를 참고하여 깔끔하게 해결하였다.
https://blog.naver.com/tipsware/221303627201
JDBC CRUD 실습
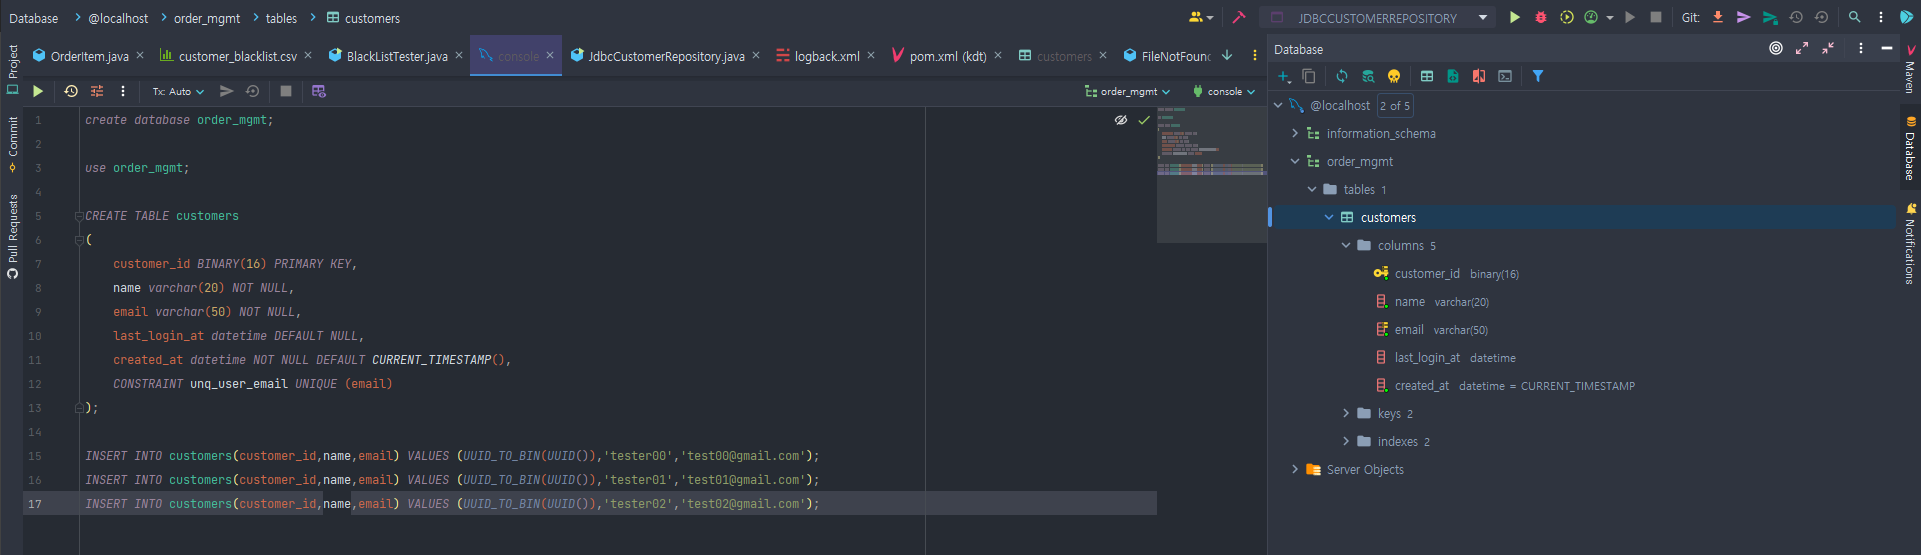
다음과 같이 MySql을 이용해 database를 생성해주었다. 그 후 이 데이터베이스를 가져와 console에 출력하는 실습을 진행해보자.
1
2
3
4
5
6
7
8
9
10
11
12
13
14
15
16
17
18
19
20
21
22
23
24
25
26
27
public static void main(String[] args) throws SQLException{

    Connection connection = null;
    Statement statement = null;
    ResultSet resultSet = null;

    try {
        connection = DriverManager.getConnection("jdbc:mysql://localhost/order_mgmt", "DB_ID","DB_PASSWORD");
        statement = connection.createStatement();
        resultSet = statement.executeQuery("select * from customers");
        while(resultSet.next()){
        var name = resultSet.getString("name");
        var customer_Id = UUID.nameUUIDFromBytes(resultSet.getBytes("customer_id"));
        logger.info("customer id -> {}, name -> {}",customer_Id,name);
        }
    } catch (SQLException throwables) {
        logger.error("Got error while closing connection", throwables);
    } finally {
        try{
            // 닫아주는 부분이 중요하다.
            if(connection != null) connection.close();
            if(statement != null) statement.close();
            if(resultSet != null) resultSet.close();
        } catch(SQLException exception){
            logger.error("Got error while closing connection", exception);
        }
    }
다음 코드에서는 Connection, Statement, ResultSet 을 try문 밖으로 빼, 우선 선언해주었다. 이는 try문이 끝나고 이 세가지 요소를 종료해주는 역할을 따로 수행해 주어야 하기 때문이다.
그렇다면 언제나 Connection, Statement, ResultSet을 열고 닫아줘야 하는데 이를 도와주는 것은 없을까?
1
2
3
4
5
6
7
8
9
10
11
12
13
14
15
try (

    var connection = DriverManager.getConnection("jdbc:mysql://localhost/order_mgmt", "DB_ID","DB_PASSWORD");
    var statement = connection.createStatement();
    var resultSet = statement.executeQuery("select * from customers");

) {
    while (resultSet.next()) {
        var name = resultSet.getString("name");
        var customer_Id = UUID.nameUUIDFromBytes(resultSet.getBytes("customer_id"));
        logger.info("customer id -> {}, name -> {}", customer_Id, name);
    }
} catch (SQLException throwables) {
    logger.error("Got error while closing connection", throwables);
}
try 부분을 이렇게 수정해줄 수 있다. Java Application에서는 AutoCloser를 제공해 자동으로 종료를 해주기 때문에 이렇게 작성해주어도 자동으로 열고 닫음이 가능한 것이다.
위의 기능은 customer table의 전체를 보여주는 기능인데 customer_id의 list를 보여주는 기능을 구현해 보겠다.
1
2
3
4
5
6
7
8
9
10
11
12
13
14
15
16
17
18
19
20
21
22
23
24
25
26
27
28
29
30
31
32
private final String SELECT_ALL_SQL = "select * from customers";

public List<UUID> findAllIds(){
        List<UUID> uuids = new ArrayList<>();
        try (
            var connection = DriverManager.getConnection("jdbc:mysql://localhost/order_mgmt", "DB_ID","DB_PASSWORD");
            var statement = connection.prepareStatement(SELECT_ALL_SQL);
            var resultSet = statement.executeQuery();
    ) {
        while (resultSet.next()) {
            var customerName = resultSet.getString("name");
            var customer_Id = UUID.nameUUIDFromBytes(resultSet.getBytes("customer_id"));
            var createdAt = resultSet.getTimestamp("created_at").toLocalDateTime();
            uuids.add(customer_Id);
        }
    } catch (SQLException throwables) {
        logger.error("Got error while closing connection", throwables);
    }
    return uuids;
}

public static void main(String[] args) throws SQLException{
    var customerRepository = new JdbcCustomerRepository();
    var count = customerRepository.deleteAllCustomers();

    logger.info("deleted count -> {}",count);

    var customerId = UUID.randomUUID();
    logger.info("created customerId -> {}", customerId);
    customerRepository.insertCustomer(customerId, "new-user", "new-user@gmail.com");
    customerRepository.findAllIds().forEach(v -> logger.info("Found customerId : {}",v));
}
- 이 코드를 간단히 보면 우선 SELECT_ALL_SQL로 sql query를 작성해준다. customers table의 전체를 보겠다는 뜻이다.
- 저 query문이 바로 statement인데 root의 id, passwoord로 jdbc에 connection한 후 그 connection과 query문으로 statement를 불러온다.
- statment의 결과를 resultSet에 저장하게 되는데 이 resultSet이 끝날때까지 돌면서 결과를 저장한다.
- 이 결과 모든 cusotmer_id 의 list가 uuids에 저장되 return 된다.
하지만 여기서 문제점이 생긴다. 아래의 main문을 보면 우선 중복 insert를 방지하기 위해 customerRepository.deleteAllCustomers()를 해주었다.
그 후 랜덤한 UUID를 설정해 생성된 customerId와 insert 후 table에 있넌 customerId는 같아야하는데 결과는 같지 않다. 왜일까?
정답은 JDBC Type의 차이때문인데 findAllIds에서 UUID를 받아올때 Byted를 UUID로 변경하여 가져오게 된다. 하지만 이 과정에서 main에서 생성한 UUID는 version 4이고 findAllIds의 UUID.nameUUIDFromBytes는 version 3이기 때문에 차이가 발생한다.
그래서 아래와 같이 버전을 맞춰 준후 findAllIds의 UUID를 받아오는 과정을 수정해주어야한다. version 4로 하여금 byte가 UUID로 바뀌게하여 이를 uuids list에 추가해주도록 수정해주었다.
1
2
3
4
static UUID toUUID(byte[] bytes){
    var byteBuffer = ByteBuffer.wrap(bytes);
    return new UUID(byteBuffer.getLong(),byteBuffer.getLong());
}
다음 코드를 수정한 후 UUID.nameUUIDFromBytes(resultSet.getBytes(“customer_id”))가 아닌 toUUID(resultSet.getBytes(“customer_id”) 를 통해 customerId를 저장하면 된다.
이와 같이 오늘은 delete, select, insert 등과 mySql query로 작성할 수 있는 것을 Java Application에서 작성하여 작업을 수행해 보았다.
Comments powered by Disqus.